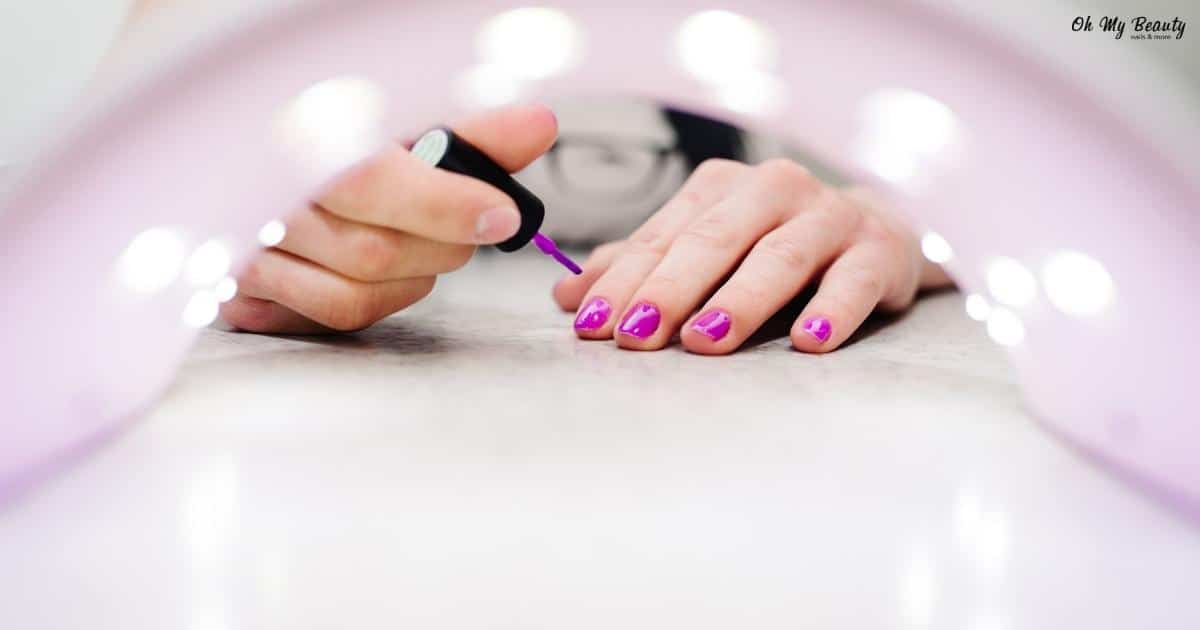
Our nails are one of the first things in our appearance that we always want to be elegant and well-groomed, but also to keep up with modern nail art trends.
Of course, the top manicure option that offers an ideal result, lasting up to three weeks, is the semi-permanent manicure.
Unlike the regular manicure that lasts for about ten days at best, the semi-permanent is known to not peel or wear off easily.
But even if you don't have the possibility - either financially or in terms of time - to be consistent in your appointment for semi-permanent manicure at the nail salon every month, don't be disappointed!
Lean on your own abilities and try it yourself semi-permanent manicure at home.
With a little goodwill and the necessary manicure tools, anything can be done!
You only need to spend a little of your time and you will have a perfect one semi-permanent manicure at home in just 5 steps.
Contents:
- Equipment
- Preparation
- Filing
- Base application
- Varnish application and polymerization
- top coat
- Conclusion
- Tips
- FAQ
Equipment for semi-permanent manicure at home
Especially if it's the first time you're trying a semi-permanent manicure at home, make sure you've gathered all the basics manicure tools which are necessary for a complete result.
Let's look at them in detail so that you have in mind the list of basic materials that you must have at your disposal before starting the process:
- Wood or metal pusher for the cuticles
- Pliers to cut cuticles and cuticles
- File to give your nails the shape you want
- buffer to remove the shine of the natural nail
- Acetone and nail cleaner to remove grease and residue
- Base Coat and top coat to stabilize the varnish and give the finish (matte/glossy) you want
- Gel polish
- LED/UV lamp
Semi-permanent manicure at home in 5 steps
1. Prepare the nail surface
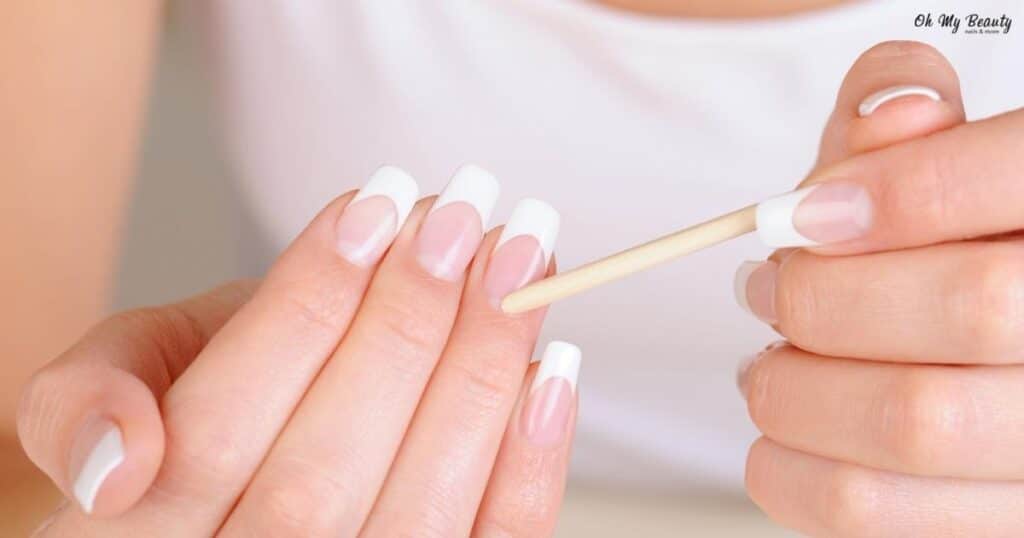
Prepare your nail surface for the manicure by pushing your cuticles back and slightly down to extend the nail surface and clean with the special manicure stick. This is the safest and "painless" way, especially if you don't know how to care for cuticles.
Otherwise, if you've had enough practice, use one pliers for cuticles and cuticles, being careful not to create a wound.
2. Shape your nails with filing
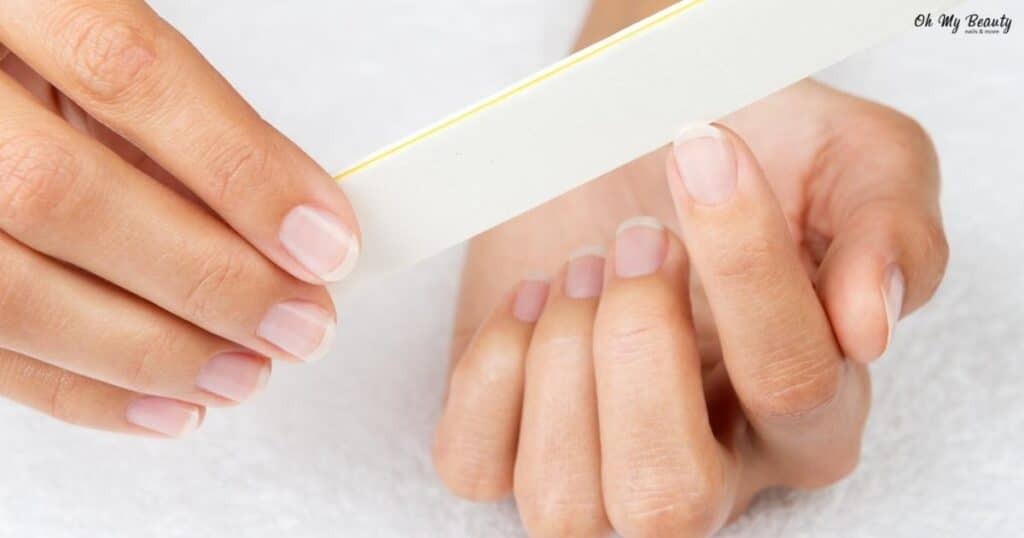
The shape you give your nails (square, round, oval, pointed, etc.) plays a key role in how they will look. Of course this depends on how convenient you want it to be in your everyday life and on your personal taste.
If you already know which nail shape suits you, Take a nail file and try to shape your nails with movements in one direction only to avoid breaking or peeling.
Hold the file perpendicular to the nail and without tilting. So the surface won't thin it will be less sharp.
After you have given the desired shape to your nails, go over their surface and edges with one buffer to properly file the nails and remove any filing residue.
Finally, remove any remaining powder with a nail brush and clean the surface of the nails from grease with pure acetone.
3. Apply the Semi-Permanent Basis
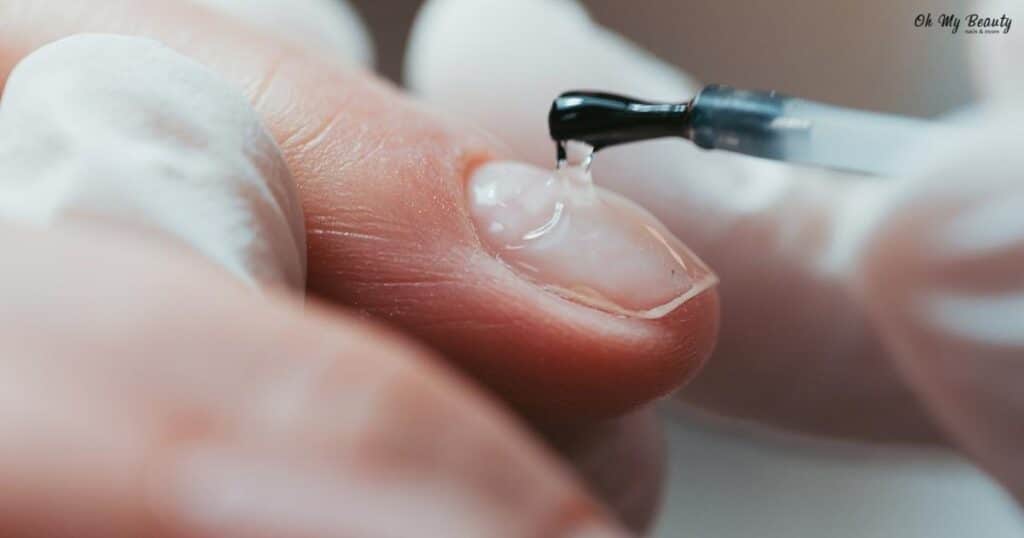
Apply a thin layer of semi-permanent base to your nails (Base Coat) and put your hands in the oven.
If you have a 48W LED oven, multiply for 30'' to 60''. If it is an oven with UV lamps, the polymerization time is two minutes.
Don't forget to go over the tip of your nail so that the first layer is "locked".
It is an important step for the duration of your semi-permanent manicure.
Be careful not to get your cuticles dirty and do not try to clean the polymerized base with nail cleaner.
4. Apply the semi-permanent varnish & polymerize
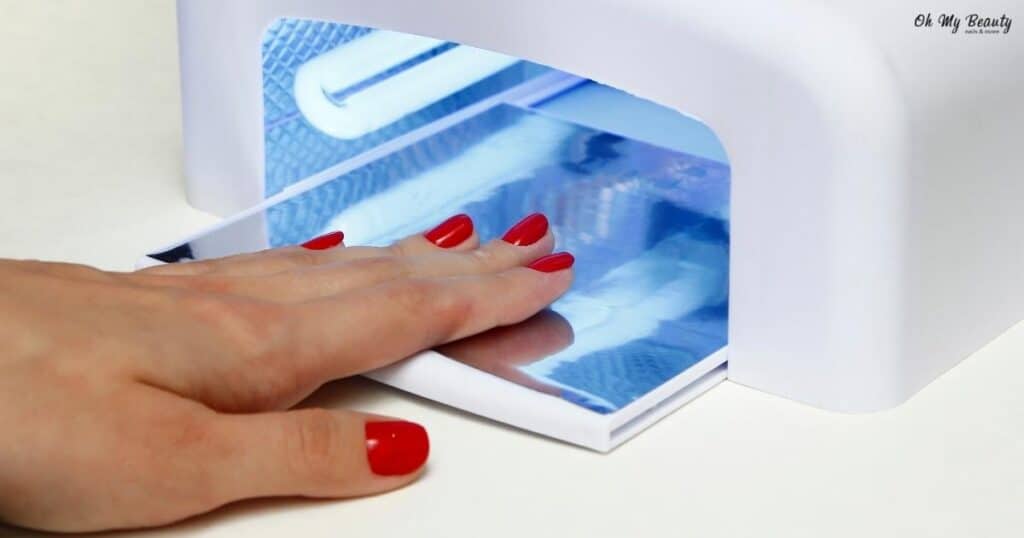
It's time to paint your nails! Apply the first layer of color with three gentle strokes gel polish that you have chosen and polymerized according to the times of your lamp (LED 48W for 30''-60'', UV for 2'-4').
Make sure this layer is thin, otherwise the color may not be "baked" properly in the oven, and you may also "seal" the tip of your nail, as you did with the base.
Depending on the opacity of the varnish and how intense you want the color to be, repeat the process with a second layer, which will give your manicure a longer duration.
5. Don't forget the Top Coat
The last step of the semi-permanent manicure at home is its application top coat to protect your manicure and give your nails the glossy or matte finish you prefer.
The layer must be thin to do the process properly.
Don't forget to cover the tip of your nail with the top coat and then cure in the lamp.
After removing both hands from the lamp, wait about 30 seconds, then remove the sticky substance that some top coats have, which remains on the polish, using a cotton swab soaked in nail cleaner.
The ideal result of the semi-permanent manicure at home will be sealed by a light massage with a specialist lucky oil for moisturizing and nourishing the hands and the skin around the nails.
Now you can feel proud of the result you achieved alone at home!
Conclusion for semi-permanent manicure at home
Since we are not all nail artists, it is to be expected that there may be some imperfections in the manicure.
Therefore, even if you follow the above steps carefully and completely faithfully, keep in mind that the semi-permanent manicure at home does not compare to the guaranteed flawless result that the professional semi-permanent manicure.
Also, if you are not familiar with the manicure tools and the whole process, you are most likely to waste your time and get quite tired without getting the nails you dreamed of.
So if you haven't already done so, close it in time appointment your for a semi-permanent manicure at Oh My Beauty and you will enjoy the complete and professional manicure you deserve for well-groomed hands that catch the eye!
Tips for semi-permanent manicure at home
- In case that your nails break, peel off, show discoloration or streaks, apply one for a while nail treatment before doing your semi-permanent manicure.
- Be careful not to stain your skin with the semi-permanent polish, but if you do, clean it off using a toothpick before putting your nails in the oven.
- In general, two coats of varnish are enough. But some colors that are more special, such as white, regardless of its brand, may need a third layer.
- Curing times will depend on the wattage of the lamp you use.
- In the case of dark shades of semi-permanent varnishes, extend the time for polymerization / hardening.
- "Bake" each layer of varnish in the oven for two minutes, but leave the Top Coat for longer.
FAQ
1. How can I make my semi-permanent manicure last longer?
To make the semi-permanent manicure last longer - up to three weeks - follow the following tips:
• Properly prepare the natural nail plate, clean the nails well and be careful not to paint the skin around your nail.
•Apply the varnish in thin layers.
• Make sure to polymerize the semi-permanent varnish based on the instructions listed.
• The lamp has a specific lifespan that you should check, just like the varnishes, in case they are damaged.
• Prefer products of the same company.
• Don't touch things when doing the manicure so that your nails don't get dirty
• Filing should not be done after you have started painting your nails.
2. How can I remove semi-permanent manicure at home?
There are three different ways to remove semi-permanent manicure at home: using magic remover, file or wheel and nail polish remover.
The simplest way is the last one. Follow the steps below and remove it semi-permanent gel polish quick and easy:
• Use a buffer over the surface of the nail to remove the glossy or matte finish of the top coat in order to successfully apply and penetrate the acetone into your nail.
• Soak a cotton ball in acetone, place it on your nail and wrap your finger with Nail Wrap Foil in sheets or a small piece of aluminum foil.
• Leave it on for about 7-10 minutes.
• Remove the semi-permanent polish with a manicure stick, as well as any residue with the help of a buffer.
• Apply moisturizing hand oil.

 Manicure
 Semi-permanent manicure
 Artificial nails
 Natural nail strengthening
 Oh My Beauty Pedicure
 Removal of gel polish pedicure
 Permanent pedicure
 Pedicure
 Pedicure express
 Extension eyelashes
 Lash lift
 Brow Lamination
 Hair removal and eyebrow shaping
 Eyelash tinting
 Eyelash permanent
 Eyelash extension maintenance
 Evening makeup
 Daily makeup
 Wedding make up
 Eyebrow Microblading
 Body hair removal
 Full face hair removal
 Upper lip hair removal
 Chin depilation
 Armpit hair removal
 Bikini waxing
 Full bikini hair removal
 Hair removal legs
 Depilation of calves